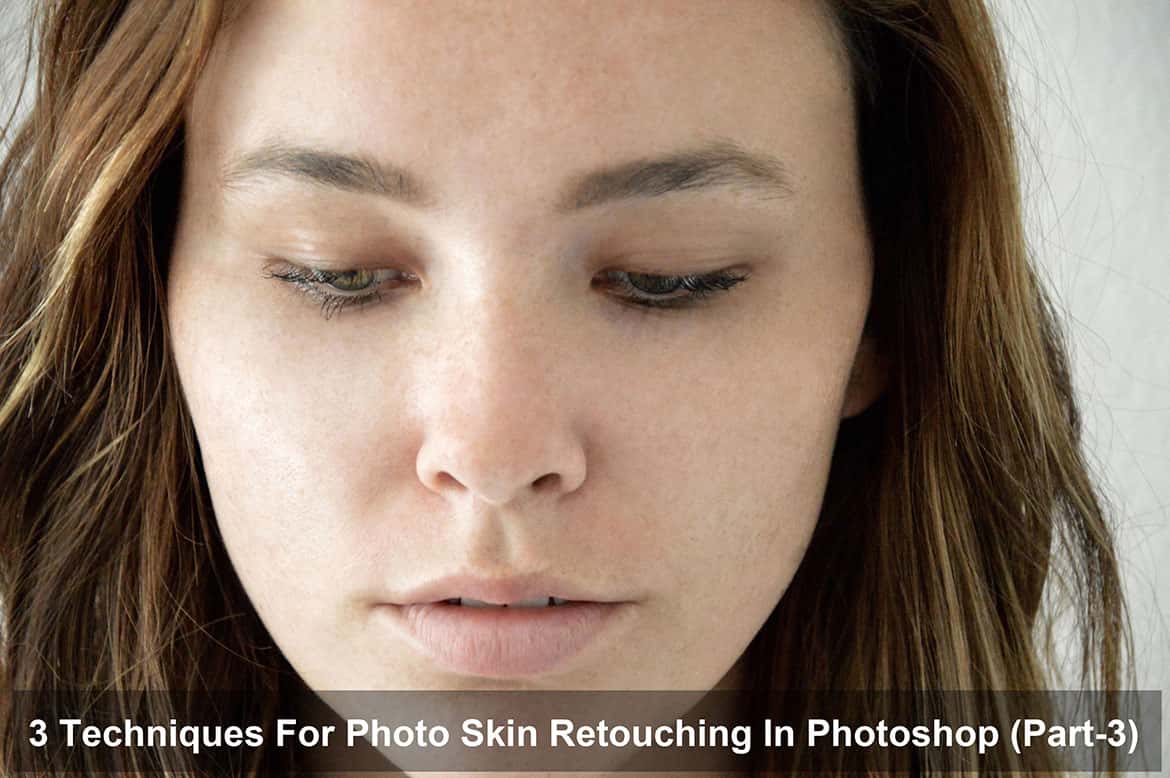
Today is 3rd and final part of our photo skin retouching tutorials with Photoshop. In our previous two parts, I discussed “Touch-Up Layer Technique” and “Frequency Separation Technique”.
Today I will discuss “The byRo Method”. The byRo Method is comparatively easier and quicker than the other 2 Methods we discussed in previous methods. This technique is generally used to retouch in make-ups like poor foundation, bad skin tone, spreading lipstick etc. They all are fixed up by applying Byro method to the skin images. It is used to correct the whole make up of skin.
Using Byro Method, it is possible to make a dark make up lighter by increasing the brightness as per your requirement. Suppose you have clicked a bridal photograph, but when you saw the actual photo on the computer, you found that the make-up is looking very loud and cheap. Then you can use the Byro method to change the entire make of the bride’s face on the photo by using effective tools.
Let’s start discussing this Photoshop Skin Retouching Action
Step – 1
First, create a new layer as you did for Frequency Separation. Duplicate the Layer by clicking Ctrl+J.
Step – 2
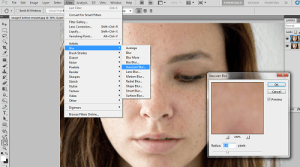
Select the duplicate layer, and go to Filter > Blur > Gaussian Blur. Adjust the radius in the Gaussian Blur dialogue box as per your requirement of skin smoothing. Cancel the dialogue box after adjusting the radius without applying the blur.
Step – 3
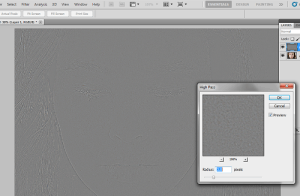
Now apply High Pass filter. Go to Filter > Other > High Pass. In the High Pass dialogue box, click on the radius you selected while testing the Gaussian Blur in step 2. Apply the High Pass filter.
Step – 4
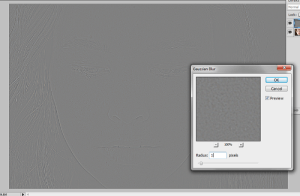
Now apply a blur to the High Pass layer. Go to Filter > Blur > Gaussian Blur. Your radius will be lesser around one-third of the margin you used in High Pass Filter. For example, if you select 7 pixels radius for High Pass Filter, use a radius of 4 pixels for the Gaussian Blur.
Step – 5
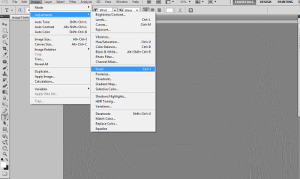
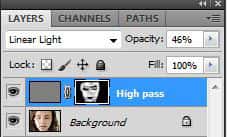
You have to invert High Pass Layer after applying the blur. Just go to Image > Adjustments > Invert or press Ctrl + I. Select layer blending mode to Linear Light to change different blending modes. Adjust the opacity in the lower range around 30-40%.
Step – 6
Now, you need to mask out the whole layer and select a soft brush. Adjust the brush opacity to 46% the color to white, and begin to paint in the skin to make it smooth where it’s needed. You do not have to paint in other areas such as the nose, eyes, hair, lips, the edges of the face etc. It may ruin that makeup area in the photo.
Step – 7
What you have to do is, play with the opacity keep upper and lower the opacity level. Keep continuing the process until you have achieved your desired skin tone.
<p”>
Hue Adjustment
Apply a Hue Adjustment layer. Press Ctrl + U to adjust.
- Select Reds and increase the Hue around +1 to +3
- Select the Yellow and decrease the Saturation between -5 to -10
- Select Master and lower the Saturation down a tiny bit between -1 to -7 set the lightness to +1
Play with the setting to get your desired skin tone and eye catchy makeup. You can set all kind of skin and skin tone of your choices by applying tools of the setting tool on Photoshop. Make the skin look natural by Byro Method.
Now we have the final image. Look at this.
All the three techniques we have covered will help you achieve beautiful and natural photo skin retouching. Touch-Up Layer will help you remove noticeable blemishes and spots. Frequency Separation will help you to preserve skin texture. And Byro’s Method will help you to do some overall smoothing and brightening. You just have to figure out what technique is applicable for your requirement and then choose the best techniques from these three techniques. Or you can outsource such type of photo retouching projects from our experts at the lowest cost.

