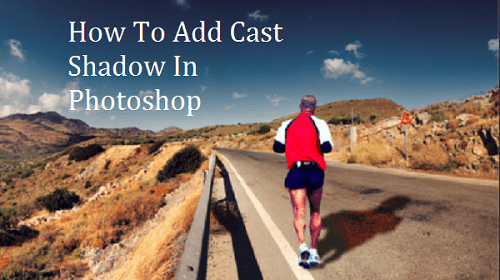
Adding Shadow is one of the most frequently needed techniques in Adobe Photoshop. There are a number of approaches to creating a Shadow for any given object. However there are a number of techniques that should be in every Photoshop user’s bag of trick.
This issue covers three basic types of shadows:
- Drop Shadows
- Cast Shadows
- Hand Drown Shadows
Previously I talked about Drop Shadows. Today I am going to introduce you to a simple yet effective method to add shadows to a composite image.
What Is Cast Shadow?
A Drop Shadow is the simplest shadow to build. But a cast shadow will get fuzzier as it gets farther from your object. Likewise, the shadow color will get lighter as it gets further away. A cast shadow is a type of shadow that is created on a form next to a surface that is turned away from the source of light. When a form blocks the light, it causes a cast shadow to be formed. Every object that blocks light has a cast shadow associated with it. One of the key elements any Designer or Photographer can use to make a composite image look more true is the images shadows.
Here are the ways to add Cast Shadow
Remove Background
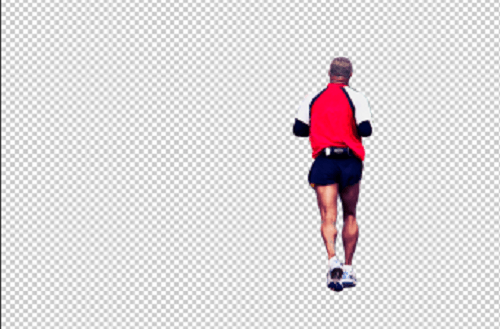
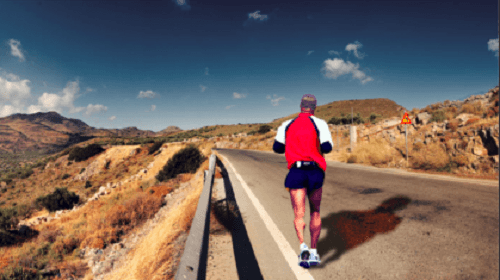
Select the image that is to be composited. Here, I have selected an image of someone running. With the Magnetic Lasso tool or Pen tool click around the object you want to keep. To know more, read how to make clipping path with Pen Tool to outline your object properly. Then remove the background from your subject.
Create A Composite
Drag the masked image onto the Background image to create a composite image. Use Free Transform press Ctrl+T to size the image to scale. If the image looks too sharp for the background, which it probably will, open the Properties Panel and set the Masks Feather to perhaps 0.2/0.3 px. It should look a little softer.
Add Drop Shadow
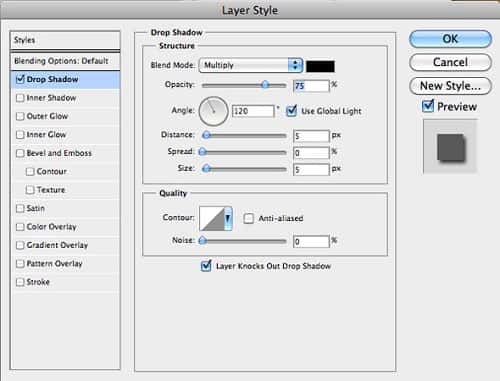
The first thing that we are going to do is to create a normal Drop Shadow in photoshop. Choose the Layer Style button at the bottom of the layers panel Select Drop Shadow. At the moment, it looks more like a person running in front of a billboard, rather than being integrated into the scene. That’s the difference between a Drop Shadow and a cast shadow.
For some naturalism, let’s first choose the right color for the shadow. Click the black rectangle to the right of the blend mode in the Drop Shadow dialog box. You will see a color picker. Also change the size to match the softness of the other shadows in the scene. Click Ok to apply.
Create A New Layer
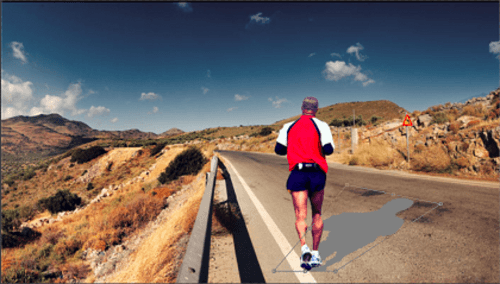
Now we have a pretty good Drop Shadow. But we want cast shadow. We are going to separate the layer style from the layer, so that we have the shadow by itself on its own layer. In the Layers panel, right click on the little “f” on the right of the layer name. You will see a drop down menu. Choose the option called Create Layer. The layer will now be spilt into 2 layers. The shadow will be moved to its own layer directly underneath the original as shown in the screen grab.
Distort The Shadow
Choose Edit > Transform > Distort to create the illusion of the shadow being cast. Start by moving the Anchor Point to the position where the shadow meets the subject. In my case that’s at the sole of the foot connecting with the ground. Click and drag on the left top handle to match the angle on the road behind our man. Reposition any of the handles if you need to. Press Enter to apply the transformation. You now have a basic cast shadow. However it’s missing some realism that we are going to add now.
Make The Shadow Softer
If you look at the shadow in the real life, you will notice, as the subject that’s casting the shadow gets further away from the surface that receives the shadow, two things happen. The shadow will soften with distance and lose intensity. We now want to make the shadow softer as it gets further away. Duplicate the shadow layer by dragging the layer into the “new layer icon” in the layers panel, of press Ctrl+J. Turn off the visibility of the bottom shadow layer and select the top shadow layer, This is the one we are going to soften.
Add Some Blur
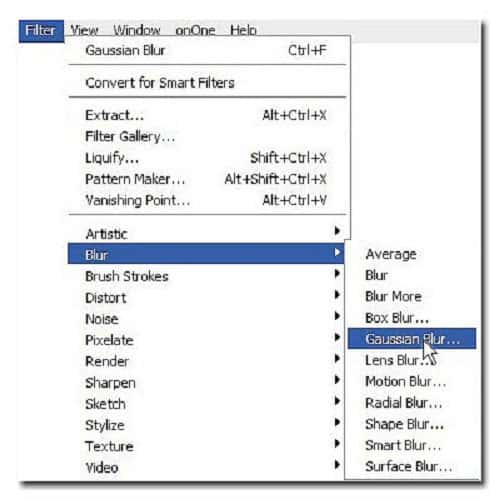
Let’s make the second shadow softer. Choose Filter>Blur>Gaussian Blur. Add enough blur to make the shadow softer, the setting will vary according to the size of the image that you’re working on. Press Ok when done.
Change The Blend Mood And Opacity
Finally set the shadow to multiply mood and the opacity of the top shadow layer to about 50% – 80% and the bottom shadow to about 30%. You now have a realistic cast shadow
Experiment and see what looks best for your image. And there you have it, a simple yet effective way to create shadows on a composite image.

