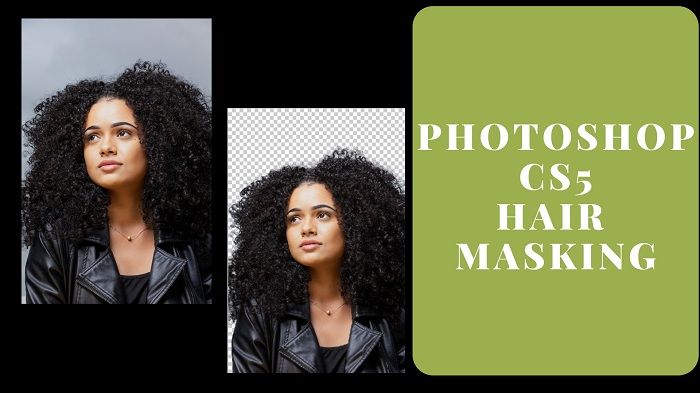
Image manipulation is a very common word for the world of image editing service providing. There are lots of types of image editing. You can remove the background, change color, remove unwanted spots and so on. Shadow effect is one of the major parts of image manipulation techniques. Shadow is a symbol of classy and natural look. Adding a shadow on a photo will make a photo look natural. If you think in an image marketing point of view, adding a shadow in your image will increase the quality of the photo as well as the product your image has. Drop shadow gives a unique look to your image. A shadow will create an authenticity of an image and will make your image look creative. Adding a shadow is not an easy task at all. For adding a shadow you need to have knowledge of the techniques which will make you add a drop shadow to your image and make it look natural.
Here in this tutorial, we are going to show you how to create a professional shadow in Photoshop. We are going to use the best editing software which is Adobe Photoshop and the effective tools and techniques that Photoshop has. Within few of the simple steps, you will get to learn to add a drop shadow to an image.
Here the 10 simple steps of creating a drop shadow are given below.
Step 1: Open an image in Adobe Photoshop
Step 2: Create a clipping path around your image
Step 3: After done with creating clipping path, make a selection pressing ‘Ctrl+Enter’
Step 4: Create a ‘New Layer’
Step 5: Copy the masked areas and paste it into a ‘New Layer’
Step 6: When the masked areas are copied successfully, go down in the functions ‘fx’ and select ‘Drop Shadow from there
Step 7: You will get a box containing the opacity, distance and other things by which you will be able to control the shadow
Step 8: Right click on the ‘drop shadow eye’ and select ‘create layer’ from there
Step 9: In the new layer, you will get to transform the shadow. Select free transform and click on ‘vertical transform’
Step 10: Drag the shadow as per your requirement and press ‘enter’
So, this is the simplest way to adding a drop shadow to your image which will enhance the beauty of your photo and make attractive.
Since we have just learned to add a drop shadow, adding mirror effect is one of the parts of a drop shadow. Though it is kind of shadow, it is not entirely the shadow. It is the reflection of the object of an image that is being reflected on the surface of the image. The mirror effect is also called as Reflection Shadow for its exact reflection of the object. Any kind of object can be reflected by Photoshop mirror effect.
We have again chosen Adobe Photoshop to work for reflection shadow or mirror effect. You just need to follow 10 easy steps for adding mirror effect to an image. Here I am going to discuss 10 easy steps of how to add mirror effect to an image.
Step 1: Open an image in Adobe Photoshop
Step 2: Create a clipping path around your image
Step 3: Make selection of the masked image by pressing ‘ctrl+enter’
Step 4: Once you have selected the masked areas, create a new layer after that
Step 5: Paste the masked areas into that new layer
Step 6: Select free transformation on the masked image
Step 7: Flip the copied image into vertical and bring it down towards the surface
Step 8: Select the opacity as per requirement. Here, we have decreased the opacity to 58%
Step 9: Press enter to complete the work
Step 10: Save the image in JPEG format by clicking on file>save as. Select JPEG format and press Enter
So, these two types of shadows editing are very much popular among different types of companies. Many industries such as garment industry, fashion industry, printing industry, e-commerce websites etc. is taking drop shadow service in a high range. Apart from these industries, this is largely taken by different types of photographers such as wedding photographers, fashion photographers, portrait photographers etc. We can say that shadow adding is an artistic work and this artistic work can make any of the images classy and beautiful.


