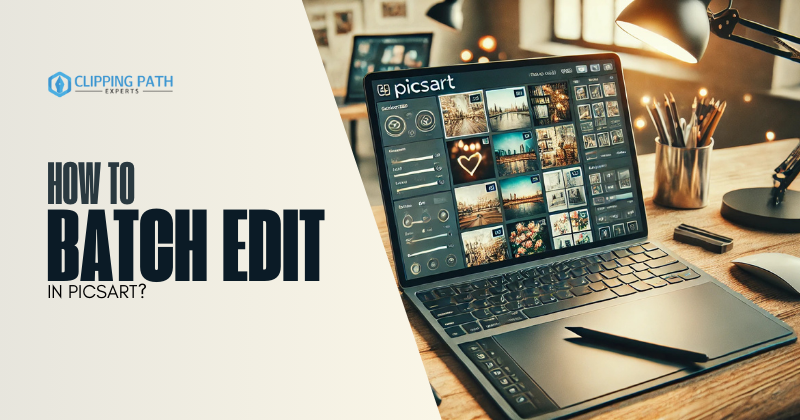
Batch editing is a game-changer for streamlining repetitive tasks like applying filters, resizing, or adding text to multiple photos. While PicsArt doesn’t have a built-in batch editing feature, its versatile toolkit offers creative workarounds to achieve similar results. In this guide, you’ll learn how to batch edit in PicsArt using templates, saved effects, and manual hacks—plus tips to maximize efficiency.
Why Batch Editing in PicsArt Matters
PicsArt is beloved for its stickers, filters, and collage tools, but editing photos one by one can be time-consuming. Whether you’re creating social media content, product catalogs, or event galleries, these methods let you replicate edits across multiple images while maintaining PicsArt’s signature creative flair.
How to Batch Edit in PicsArt: 3 Clever Methods
Method 1: Use Templates for Consistency
PicsArt’s template feature lets you design once and reuse layouts. Here’s how:
- Create a Template:
- Open PicsArt and tap + > Collage > Grids.
- Choose a layout (e.g., 3×3 for Instagram carousels).
- Add text, stickers, or effects. Save as a template.
- Apply to New Photos:
- Open the template, tap each placeholder, and replace with new photos.
- Edits (filters, text placement) stay consistent.
Best For: Social media posts, promotional banners, or themed collages.
Method 2: Save and Reuse Effects
Save your favorite edits as “Favorites” for quick access:
- Edit a Photo:
- Apply filters (Effects), adjust lighting (Tools), or add overlays.
- Save as Favorite:
- Tap the bookmark icon (⭐) next to effects or tools.
- Replicate on Other Photos:
- Open a new photo, go to Effects or Tools, and select your saved favorites.
Pro Tip: Combine saved effects (e.g., “Vintage Filter + Shadow Adjust”) for one-click styling.
Method 3: Manual Batch Editing with Layers
For precise control, manually replicate edits using layers:
- Edit Your First Photo:
- Apply filters, text, or stickers.
- Save as a Project:
- Tap Save > Save as Project (not just as an image).
- Reuse Layers:
- Open the project, delete the original photo layer, and add a new photo.
- Adjust layer positioning if needed.
Best For: Adding watermarks, logos, or text overlays to multiple images.
Tips to Speed Up Batch Editing in PicsArt
- Shortcut with Clips: Use Video Clips to apply the same edits across frames.
- Batch Export: Use third-party apps like Google Photos or Dropbox to export resized images in bulk.
- Sync with Remix Chat: Share editable project links with collaborators for team workflows.
Limitations & Workarounds
- No True Batch Mode: PicsArt requires manual input for each photo.
- Workaround: Pair it with apps like Lightroom (batch edit) or Canva (Magic Resize), then polish in PicsArt.
FAQs: How to Batch Edit in PicsArt
1. Can I auto-apply filters to multiple photos in PicsArt?
No, but saving effects as favorites lets you apply them quickly to each photo individually.
2. How do I resize 50+ photos at once in PicsArt?
Use Google Photos or BulkResizePhotos to resize first, then import to PicsArt for edits.
3. Is there a desktop version for batch editing?
PicsArt’s desktop app also lacks batch tools, but its larger interface speeds up manual workflows.
4. Can I batch-add stickers or text?
Yes! Save a project with sticker/text layers, then swap the background photo repeatedly.
5. What’s the fastest way to edit 100+ photos?
Use PicsArt for creative touches and Lightroom for bulk adjustments like exposure or cropping.
Conclusion
While how to batch edit in PicsArt isn’t straightforward, these workarounds let you replicate edits efficiently. Use templates for social media, save favorite effects for quick styling, or reuse project layers for watermarks. For true batch processing, pair PicsArt with tools like Lightroom or Canva, then return for its unmatched creative filters and stickers.
Ready to streamline your workflow?
- Save your go-to effects as favorites.
- Experiment with templates for your next project.


