Editing hundreds or thousands of photos one by one is a tedious, time-consuming process that can drain creativity and productivity. Whether you’re a professional photographer, social media manager, or hobbyist, learning how to bulk edit photos is a game-changer. This comprehensive guide covers everything from tools and workflows to pro tips and troubleshooting, ensuring you can streamline your editing process while maintaining quality and consistency.
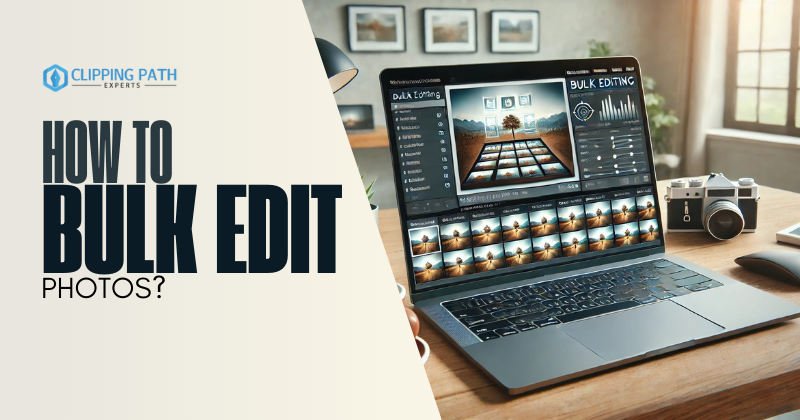
What Does “How to Bulk Edit Photos” Mean?
Bulk photo editing refers to applying the same adjustments—such as filters, resizing, exposure corrections, or watermarks—to multiple images simultaneously. This technique is essential for:
- Saving time: Edit hundreds of photos in minutes instead of hours.
- Ensuring consistency: Uniform style across social media posts, product catalogs, or event galleries.
- Scaling workflows: Handle large projects like weddings, e-commerce listings, or marketing campaigns efficiently.
Top Tools to Bulk Edit Photos
1. Professional Software
- Adobe Lightroom Classic/CC: The gold standard for bulk editing. Sync presets, exposure, and watermarks across thousands of photos.
- Capture One: Ideal for RAW file batch processing and precise color grading.
- Photoshop + Actions: Automate repetitive tasks like resizing or adding text layers.
2. Freemium & Online Tools
- Canva Pro: Use the Bulk Create tool for social media graphics.
- Fotor: Apply filters, adjust lighting, and resize images in batches.
- Pixlr X: Browser-based editor with batch resizing and basic filters.
3. Free/Open-Source Options
- GIMP + BIMP Plugin: Resize, convert formats, or watermark photos in bulk.
- Darktable: Open-source alternative to Lightroom for RAW editing.
- FastStone Image Viewer: Lightweight tool for quick batch renaming or resizing.
4. Mobile Apps
- Lightroom Mobile: Sync edits across selected photos on iOS/Android.
- Snapseed: Adjust exposure and apply filters to small batches.
How to Bulk Edit Photos: Step-by-Step Workflows
Workflow 1: Adobe Lightroom (Desktop)
- Import Photos: Create a new catalog or add images to an existing collection.
- Edit a “Hero” Photo:
- Adjust exposure, contrast, and white balance.
- Apply presets or create custom ones (Develop > New Preset).
- Sync Settings:
- Select all photos in the collection.
- Click Sync Settings and choose adjustments to apply (e.g., Basic Tone, Color Grading).
- Export in Bulk:
- Go to File > Export.
- Set format (JPEG/PNG), resolution, and output folder.
Workflow 2: Canva Pro (For Social Media)
- Prepare a CSV File: List image URLs or filenames in a spreadsheet.
- Design a Template:
- Create a social media post with placeholders for text and images.
- Apply filters, branding elements, or animations.
- Bulk Create:
- Navigate to Apps > Bulk Create and upload your CSV.
- Drag data fields into the design placeholders.
- Download All: Export designs as PNG or PDF.
Workflow 3: GIMP (Free)
Install the BIMP Plugin:
- Download BIMP from gimp.org.
- Place the plugin in GIMP’s Plugins folder.
Batch Process Images:
- Open GIMP and go to File > Batch Image Manipulation.
- Add photos, then configure edits (resize to 1920px, apply contrast).
Run and Export: Save edited images to a designated folder.
Advanced Techniques to Bulk Edit Photos
1. Automate with Presets
- Lightroom Presets: Save frequently used edits (e.g., vintage filters, matte tones).
- Photoshop Actions: Record steps like “Resize + Sharpen + Watermark” for one-click processing.
2. Use AI-Powered Tools
- Luminar Neo: Auto-adjust exposure and color balance across batches using AI.
- Topaz Photo AI: Enhance resolution and reduce noise in bulk.
3. Combine Tools for Complex Workflows
Example: Edit RAW files in Lightroom, then use Photoshop Actions to add watermarks.
Pro Tips for Flawless Bulk Editing
Organize Before Editing:
- Sort photos into folders (e.g., “Raw,” “Edited,” “Web-Ready”).
- Use clear filenames like “Event_001_Raw.jpg”.
Test on a Subset
- Run edits on 5-10 images to catch errors before full processing.
Calibrate Your Monitor
- Ensure color consistency across devices.
Backup Originals
- Save unedited files to avoid irreversible mistakes.
Common Challenges & Solutions
| Challenge | Solution |
| Inconsistent edits | Group photos by lighting conditions first. |
| Software crashes | Split large batches into smaller groups. |
| Quality loss | Export in high-resolution formats (TIFF/PNG). |
| Watermark alignment | Use templates with fixed placeholder layers. |
FAQs: How to Bulk Edit Photos
1. Can I bulk-edit photos for free?
Yes! Use GIMP (with BIMP plugin) or Darktable for advanced edits. Pixlr and Fotor offer free browser-based options.
2. How to bulk resize 500+ photos without quality loss?
Use Lightroom’s Export settings with Bicubic Sharper or Photoshop’s Image Processor.
3. What’s the fastest way to add watermarks in bulk?
- Lightroom: Use Export > Watermark Editor.
- Online Tools: Try Watermarkly or BulkWatermark.
4. Can I bulk edit photos on an iPhone?
Yes! Lightroom Mobile lets you sync edits across multiple photos.
5. How to automate bulk editing?
Use Python scripts (e.g., Pillow library) or Automator (Mac) for custom workflows.
6. Why do my bulk-edited photos look different?
Variations in lighting or camera settings. Edit similar photos in separate batches.
Conclusion
Learning how to bulk edit photos transforms how you handle large projects, freeing time for creativity and strategy. Whether you’re using Lightroom’s presets, Canva’s Bulk Create, or free tools like GIMP, the key is to automate repetitive tasks and focus on what matters—your vision.
Ready to start?
- Choose a tool that fits your budget and skill level.
- Test workflows on small batches.
- Scale up and watch your efficiency soar!


