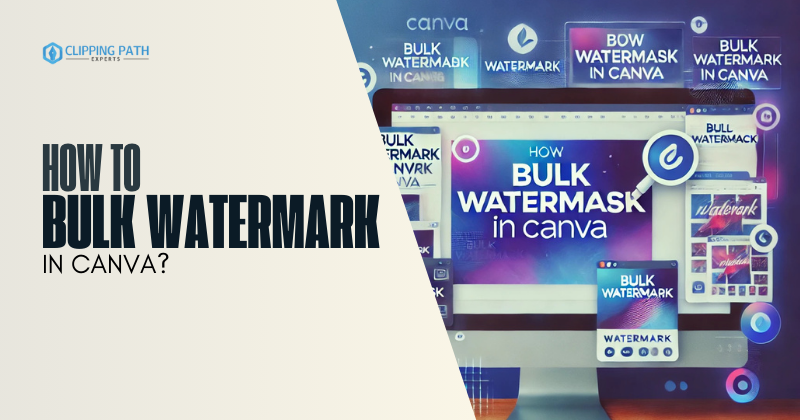
How to Bulk Watermark in Canva? If you’re managing multiple images or designs for a project, adding a watermark can feel overwhelming. This is where Canva shines as a user-friendly design tool that simplifies Batch Photo Editing tasks, including applying watermarks to your work.
Want to know how to bulk watermark in Canva without manually editing dozens of images? You’re not alone.
Whether you’re a content creator, small business owner, or designer trying to protect your visuals and maintain brand identity, bulk watermarking is essential. The good news? Canva makes this process simple — even if it’s not fully automatic.
In this guide, you’ll learn how to bulk watermark in Canva using smart workarounds like templates, duplication, and batch upload features to speed up your workflow and keep your visuals consistent.
TL;DR – Bulk Watermarking in Canva (Quick Steps)
✅ Organize your image files
✅ Upload all your images via Canva’s batch upload
✅ Create or upload your watermark/logo
✅ Add your watermark/logo to one image design
✅ Duplicate the design and replace the image
✅ Use Canva’s alignment and brand tools to maintain consistency
✅ Save as a reusable template for future use
Why Watermarking Matters
Adding a watermark helps protect your designs from unauthorized use and reinforces your brand identity. If you’re managing lots of visuals, watermarking each one manually is time-consuming — that’s why knowing how to bulk watermark in Canva is so valuable.
How to Organize Images in a Project Folder?
Before you start the watermarking process, it’s important to organize your images. This will make your workflow smoother, especially when dealing with dozens or hundreds of photos.
- Create subfolders by project, client, or theme
- Rename files for better sorting
- Make sure all images are in supported formats (JPEG, PNG)
How to Create or Upload a Watermark Design?
You can either:
- Go to Create > Custom Size> Create New Design
- Upload your existing logo or watermark design (ideally a PNG with transparent background)
- Or create one in Canva using text and graphics, then save it as a reusable element

💡 Tip: Use Canva Pro’s Brand Kit to store your watermark/logo for quick access.
Step-by-Step: How to Bulk Watermark in Canva
How to Use Canva’s Batch Upload Feature to Add Multiple Photos?

Step 1: Upload Images –
- Go to Create >Uploads > Upload Files or Folder
- Select and upload all the images you want to watermark
- All uploaded files will appear in your Canva media library
🔁 This lets you batch-import assets efficiently.
How to Apply the Watermark to One Photo and Duplicate the Design Across Others?
Step 2: Add an Image to the Canvas

- Create a new design (choose your preferred dimensions)
- Drag and drop the first image from your uploads onto the canvas
Step 3: Insert Your Watermark

- Add your watermark/logo from your uploads or Brand Kit
- Resize and position it (commonly bottom-right with 50–70% opacity)
- Use Position, Opacity, and Lock features for consistency
Step 4: Duplicate the Page

- Click “Duplicate Page” in the page panel
- This creates a copy of the current page with the watermark in place
How to Adjust Size and Position Consistently for All Images?
Step 5: Replace the Image on Each Page

- On each duplicated page, drag in a new image
- Drop it over the old one to replace it
- The watermark remains perfectly positioned
Step 6: Resize the Image on Each Page

- Resize every image based on there size in order to fit to the canvas.
Step 7: Repeat for All Images
- Continue duplicating and replacing until all your images are watermarked
How to Export Watermarked Images?
Step 8: Export Your Watermarked Images

- Click Share > Download
- Choose PNG or JPG, and select All Pages
- Download your full set of watermarked visuals
Tips for Efficient Bulk Watermarking in Canva
- Use keyboard shortcuts to speed up the process
- Group watermark and alignment guides
- Rename pages for better export file sorting
Brand Kit – How to Use Canva Pro’s Brand Kit for Quick Access to Logos and Fonts?
If you’re a Canva Pro user:
- Store your logo, brand colors, and fonts in the Brand Kit
- No need to re-upload or recreate your watermark each time
- Ensures consistency across all watermarked images
How to Utilize Templates for Uniform Placement?
Rather than starting from scratch each time:
- Create a Canva watermark template with a placeholder image and your watermark already placed
- Save it as a design
- Replace only the image every time
How to Save Projects as Reusable Templates for Future Use?
Once your design is finalized:
- Click the “••• > Save as Template” option in Canva
- Your project is now reusable — just plug in new images and go
FAQs on Bulk Watermark in Canva
Can you watermark multiple images at once in Canva?
While Canva doesn’t support one-click batch watermarking, you can use templates and design duplication to quickly apply watermarks across multiple images.
Why is adding a watermark important?
Adding a watermark helps protect your designs from unauthorized use while reinforcing your brand identity.
Can you add watermarks to multiple images in Canva?
Yes, Canva allows users to apply watermarks to multiple images efficiently using its intuitive design features.
Is Canva suitable for professional batch photo editing?
While Canva is excellent for quick and simple tasks like adding watermarks, professionals may use specialized software for more advanced batch editing. Some prefer using professional photo editing service companies for regular processing.
Are there alternatives to Canva for bulk watermarking?
Yes, tools like Photoshop, Lightroom, Watermarkly, and PhotoMarks offer more advanced batch watermarking capabilities with full automation.
Does Canva have a watermark tool?
Canva doesn’t have a dedicated watermark tool, but you can add your logo or text manually and reuse it across designs. Canva Pro’s Brand Kit makes this process faste
How do I add a logo watermark to all my images in Canva?
Upload your logo, add it to your first design, and then duplicate that design for other images. You can use alignment tools to keep the watermark placement consistent
Is Canva Pro required for bulk watermarking?
No, you can watermark images in the free version of Canva, but Canva Pro’s Brand Kit and template features make bulk watermarking faster and more efficient.
What’s the best placement for a watermark in Canva?
Common placements include the bottom-right or center of the image, depending on the visibility and brand style. Use Canva’s transparency and position tools to make it subtle yet effective.
Can I automate watermarking in Canva?
Canva does not currently offer full automation for watermarking. You need to manually duplicate designs or use templates for faster batch processing.
What image formats work best for uploading a watermark logo to Canva?
PNG with a transparent background is the best format for watermark logos. It blends well into designs without blocking important content.
How can I save a watermark layout for future use in Canva?
After creating your watermark layout, click “•••” and choose “Save as template”. This allows you to reuse the same watermark setup across different projects.
What are Canva alternatives for batch watermarking?
You can try:
Photoshop Action
Watermarkly
PhotoMarks
Lightroom Presets for high-volume
Or use a professional photo editing service for projects.
Conclusion
Now you know exactly how to bulk watermark in Canva — even if it’s not technically “automated,” Canva gives you all the tools to watermark multiple images quickly and consistently.
With smart use of templates, batch uploads, and the Brand Kit, you can:
- Protect your designs
- Save time
- Maintain design consistency
- Reinforce your branding
Whether you’re working on social posts, product galleries, or client presentations, Canva makes bulk watermarking easier and more professional


